If you’re a landscape photographer, a tripod is probably one of the pieces of equipment you most consistently carry into the field. When a new landscape photographer is looking to expand their toolkit, a tripod, even an entry level model, is always at or near the top of the list. Effectively using a tripod can allow you to:
- Take landscape photos in lower light by allowing a longer shutter speed while still getting a sharp photo;
- Take landscape exposures with greater depth of field (i.e. smaller aperture);
- Take long-exposure images to capture motion in moving water, clouds, or other moving objects by blurring them;
- Bracket images (either for HDR or focus stacking) so they more easily align in editing later; and
- Give you more time to tweak your composition.
Sometimes, however, carrying a tripod is too cumbersome while traveling. I often leave it behind in the hotel when shooting around a city, opting to go light and be more inconspicuous. Other times, tripods are outright banned. Whether due to increased crowding, or perhaps an increase in photographers, I’ve noticed many popular sites not allowing any type of tripod.
So, what to do if you don’t have use of a tripod, but still need to steady the camera with slower shutter speeds? Read on for 5 strategies.
1. Use a mini-tripod. Ok, this is sort of cheating as I’m just saying use a tripod that is smaller. But a smaller tripod is, well, smaller and easier to carry, and it’s less obvious.
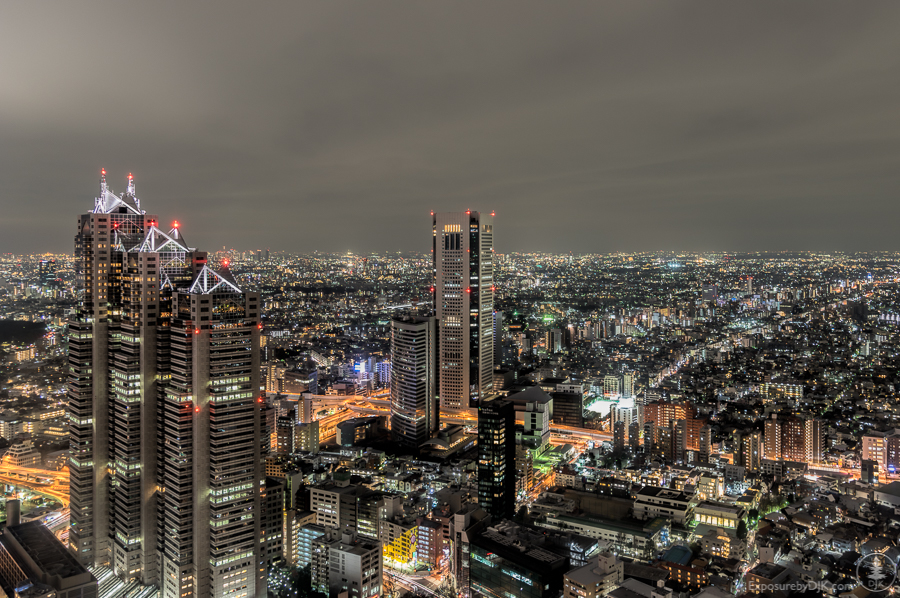
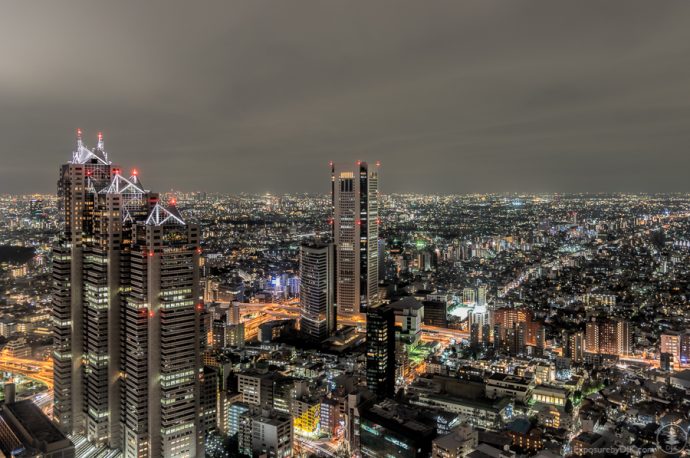
2. Set the camera down. Sometimes even small tripods aren’t inconspicuous enough and will get you yelled at (see: Japan trip). In those cases you can often find something to rest the camera on – a bench, ledge, or similar. As needed, you can also use a jacket or other piece of clothing to prop up the camera and adjust its angle. Small bean bags also work well if you’re willing to carry one. To get the picture below, which required a long exposure, I set the camera on a windowsill with a scarf.
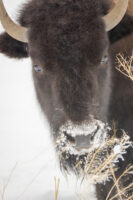
3. Image stabilization. So, no tripod or convenient surface to set the camera on? Next up, using your camera’s image stabilization/anti-shake system. Many cameras and lenses have technology that stabilizes the image. While you won’t be able to handhold a long exposure shot with this technology, it will allow you to handhold shots with shutter speeds a few stops slower than you normally would.
Don’t use image stabilization when your camera is on a tripod, and don’t use it with both your camera body and lens (if both have it). In both cases, the system will not work correctly and may actually result in blurrier images.
4. Optimize camera settings for faster shutter speeds. In considering your exposure settings, maximize shutter speed by either opening up the aperture (i.e. smaller f/stop) and/or increasing your ISO. These come with potential tradeoffs, however. The former will limit your depth of field while the latter may increase the noise in your image to unacceptable levels. Both of those possible tradeoffs may well be worth it, though, if it means getting a shot.
Don’t want to think about the exact settings? Then set your camera to shutter priority mode where you can select the preferred shutter speed and the camera will select the appropriate aperture. You can still adjust the ISO, too.
What is the “correct” shutter speed? That will vary, of course, but for a sharp shot while hand-holding the camera, the general rule of thumb is that you want your shutter speed to be 1/effective focal length of lens. If you’re shooting at 50mm on a full-frame camera, then your shutter should be at least 1/50, with proper camera holding technique. If, however, you’re shooting on a crop sensor (APS-C) remember that there is a 1.5x crop factor, meaning that 50mm is more like a 75mm and therefore your shutter speed should be at least 1/75. (1/50 and 1/75 don’t actually exist as common shutter speed options, so here you would select the next fastest options, such as 1/60 and 1/125 in these cases.)
5. Tension the camera. When trying to steady the camera it’s often beneficial to create tension on the camera which helps steady the camera. Here are two ways to achieve this:
 First, use burst mode or continuous shooting mode. Everytime you depress or let off the shutter release button you’re applying force to the camera that can possibly move it. By utilizing continuous shooting, you can depress the button by squeezing the camera, hold for several frames, then release. The idea being that the middle shots where you’re squeezing and holding the shutter release down will be more stable, and therefore sharper, than the first or last shots.
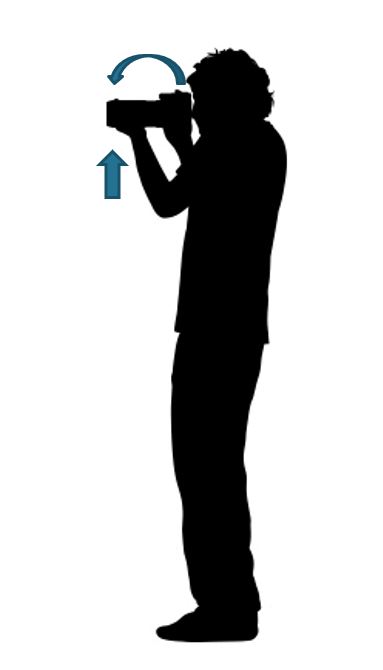
Second, for a longer lens, create tension by pushing the camera forward and down with your right hand while pushing up on the lens with your left hand. You don’t need a ton of force here, just enough to create some tension that will steady the camera. This can be used in conjunction with continuous shooting, too.
—
Sign up for my new newsletter here to never miss a post. Learn more and sign-up here.